With File Manager, you will be able to easily edit and upload files directly from your computer to your server, all from within your cPanel account. File Manager works as a fast substitute for quick changes instead of using FTP services.
You will learn how to upload and edit files using File Manager in this short tutorial.
1) Go to the hostropics.com Client Area by pressing the login button at the top of the page or by visiting https://www.hostropics.com/panel/clientarea.php and log in:

2) Once logged in to your account, access cPanel.
3) Scroll down and select File Manager from the "Files" tab.

4) Choose the directory where you wish to upload the file. To edit a file, you can right click on the file, then select edit.
This is usually within the Web Root (public_html/www)
Note: If you're looking for a file and cannot find it, go to "Settings" at the top right of the screen, and make sure that "Show Hidden Files (dotfiles)" is enabled.
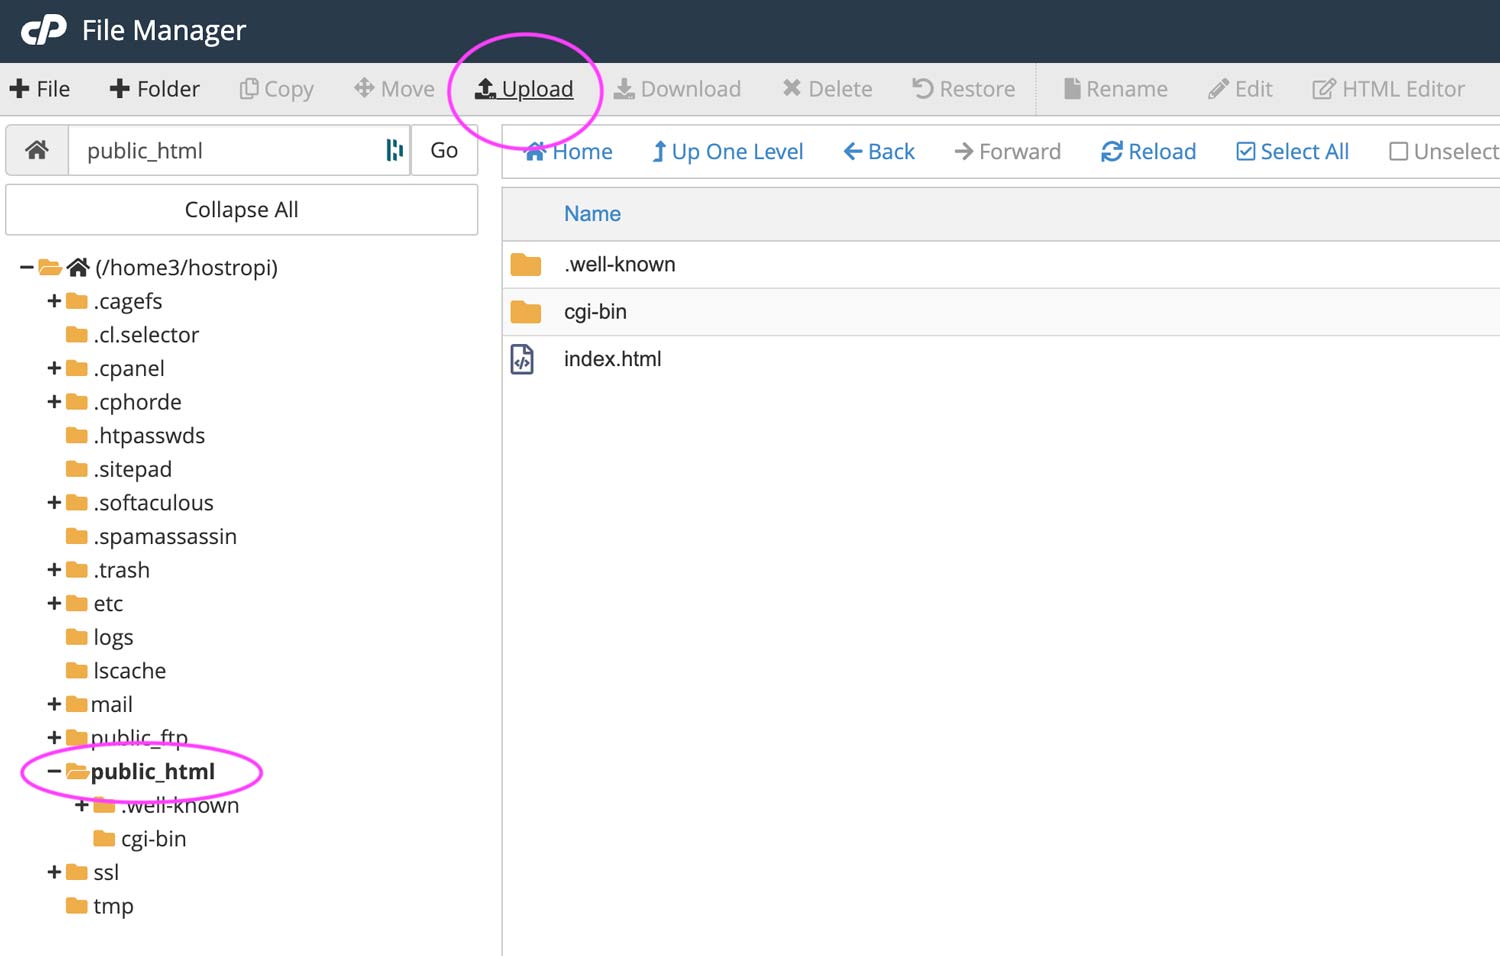
5) Select Upload from the top menu (pictured above).
6) Click the Select File button on the File Upload screen and select the file(s) from your computer that you wish to upload. You can also drag and drop files into this upload screen.
For the purpose of this example, we will select the file example-logo.png from our desktop.

7) Upon uploading the file, click the Go Back To link below the uploader. Your new file(s) will appear in the folder in which it was placed. Our example file can be seen uploaded in the image below:
![]()
8) You can view the example file uploaded at http://www.hostropics.us/example-logo.png
